
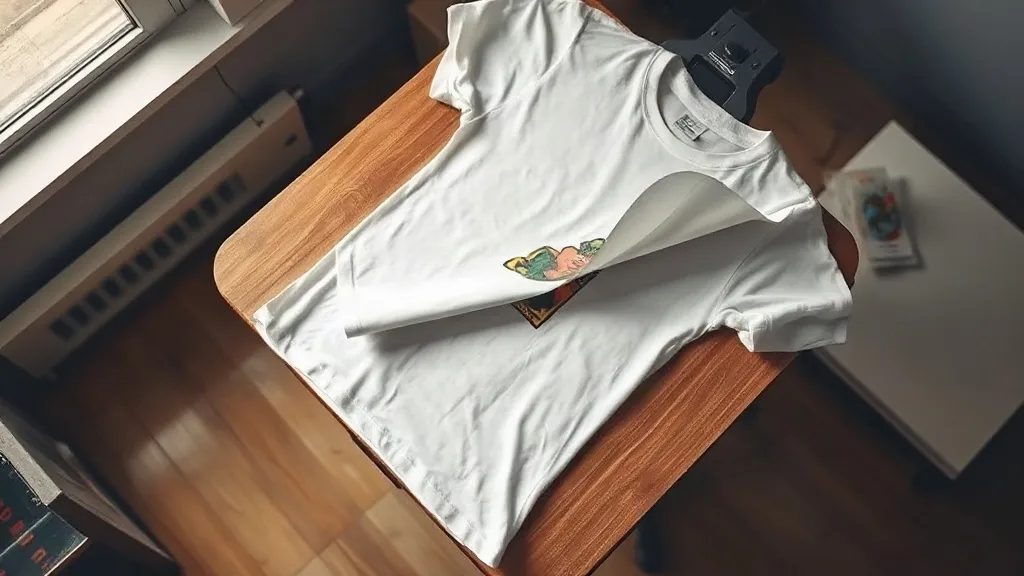
Most people who try dtf transfers for the first time run into the same surprise. The prints look fantastic coming off the press, then a few washes later the edges start to lift or the colors go chalky. The technology is not the problem. The gap is usually in the details nobody explains: which film was used, how much adhesive powder went down, whether the garment was pre-pressed, and whether the transfer was cured or just pressed. This guide walks through those details so your next batch holds up the way it should.
What DTF Actually Is and Why It Earned Its Following
Direct-to-film printing works like this: a printer lays down water-based pigment inks onto a PET film, then a powdered hot-melt adhesive is applied to the wet ink and cured. What you get is a thin, flexible transfer you can store flat, ship in a tube, and press onto almost anything in under a minute. That last part is the reason dtf spread so fast through small print shops.
Compare it to screen printing, which needs a separate screen and setup for every color, or sublimation, which only bonds to polyester and light-colored surfaces. DTF has no color count limit, works on cotton, blends, canvas, and even leather, and lets you produce a single full-color piece without burning a screen. For a shop doing mixed orders, that flexibility changes the economics.
Where DTF Fits Compared to Vinyl and DTG
Heat transfer vinyl is still the cheapest option for one-color names and numbers, and it will outlast DTF on heavy cotton workwear. Direct-to-garment printing wins on ultra-soft hand feel for light garments in small runs, but it struggles on dark polyester and on structured items like caps and tote bags. DTF sits in the middle: more versatile than vinyl, tougher than DTG on difficult fabrics, and far less fussy about the surface it lands on.
The Three Variables That Decide Whether a Print Lasts
When a transfer fails, the cause is nearly always one of three things. Understanding them separates a print that survives fifty washes from one that peels in five.
Film and Ink Compatibility
Not all PET film behaves the same. Cheaper film can warp under the heat of curing, which distorts the print slightly before it ever reaches a garment. It can also release the ink layer unevenly, leaving thin patches where the adhesive has nothing to grip. If you are buying transfers rather than printing them yourself, ask what film the supplier uses and whether the inks are pigment-based. A supplier who cannot answer that question is telling you something.
Adhesive Powder and Curing
The powder is the glue holding everything together, and it is the most common failure point. Too little powder and the transfer will not anchor to the fabric. Too much and you get a stiff, plasticky patch that cracks along the ink edges. The correct amount looks like a light, even dusting with no bare wet spots. Curing temperature and time matter just as much: undercured powder stays tacky and clogs, overcured powder becomes brittle and loses grip.
Press Settings and Fabric
Every fabric absorbs heat differently. A thin tri-blend needs less time than a heavyweight hoodie, and a coated polyester shell needs lower temperature so the coating does not melt and trap the adhesive. Pre-pressing the garment for a few seconds removes moisture and wrinkles, which is the single most overlooked step. Moisture turning to steam under the transfer is a reliable way to get bubbles and weak adhesion.
A Press Routine That Works Across Most Garments
The numbers below are a sensible starting point, not gospel. Test on scrap before committing a full order.
- Pre-press the garment for 5 to 7 seconds to flatten the surface and drive off moisture.
- Place the transfer with the printed side up and cover it with a protective sheet or Teflon paper.
- Press at medium pressure for 12 to 15 seconds at around 150 to 160 degrees Celsius.
- Peel the film while it is still warm for a matte finish, or let it cool fully for a slightly glossier look.
- Post-press for 5 seconds with the protective sheet in place to lock the adhesive into the weave.
Two habits make a real difference here. First, keep a log of settings per fabric type, because memory is unreliable once orders pile up. Second, always wash-test one sample from a new fabric or a new transfer batch. A five-minute test saves a refund conversation later.
Caring for a DTF Print So It Lasts
You can hand a customer a perfect shirt and still see it come back if care instructions are vague. The print is durable, but it is not indestructible. A short care card in the package goes a long way.
- Wash inside out in cold or lukewarm water.
- Skip fabric softener, which leaves a residue that weakens the adhesive over time.
- Tumble dry low or hang dry. High heat is what causes cracking.
- Do not iron directly on the print. If pressing is needed, use a cloth between the iron and the design.
- Avoid dry cleaning solvents on garments with large printed areas.
Sourcing Transfers Without Getting Burned
If you are searching for dtf transfers near me, the practical question is not really location. It is turnaround and consistency. A local supplier who can deliver in two days beats a cheaper one three weeks out, especially when a client needs a reprint. When you evaluate a supplier, ask about gang sheet sizes, whether they offer sample packs, and how they handle color matching on repeat orders.
Order a small test sheet first. Press it on the exact fabric you plan to use, wash it three times, and inspect the edges. A supplier worth keeping will pass that test without excuses. Also confirm whether transfers ship flat or rolled, since creased transfers are difficult to press cleanly and often show a visible line in the final print.
Common Mistakes Worth Avoiding
The most frequent error is pressing a cold transfer onto a cold shirt and calling it done. The second is stacking transfers before they have fully cooled, which fuses sheets together. The third is assuming a setting that worked on cotton will work on a polyester blend. Adjust temperature down for synthetics and up slightly for heavy cotton, and check the peel before you walk away.
Frequently Asked Questions
How many washes should a DTF transfer survive?
A properly produced and correctly pressed transfer will typically hold up through 50 or more wash cycles on cotton. Failures before that usually trace back to undercured powder, insufficient pressure, or washing at high heat.
Can DTF transfers go on polyester and nylon?
Yes, but lower the press temperature and shorten the time. Synthetic fabrics and coated shells are sensitive to heat, and overheating can damage the fabric or cause the adhesive to bond unevenly.
Do I need a special press for DTF?
A standard heat press with reliable temperature and pressure control is enough. What matters more than the brand is consistency, since small temperature swings are the main cause of inconsistent results across a batch.
Why does my DTF print feel stiff?
Excess adhesive powder is the usual culprit. A lighter, even dusting plus a short post-press gives a softer hand feel. Large solid color blocks will always feel slightly firmer than fine detail work.
Can I stack DTF transfers for shipping?
Only after they have fully cooled. Stacking warm transfers causes the adhesive to bond sheets together, and separating them can tear the ink layer. Store them flat, powder side against powder side, with a sheet between.