
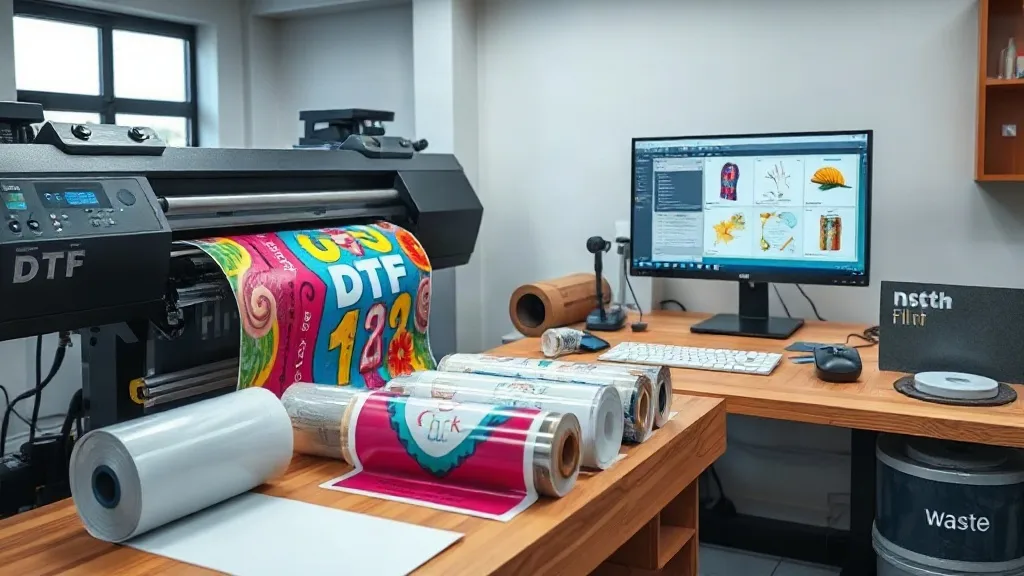
Every DTF printer knows the sting of peeling away a finished transfer and tossing a sizeable chunk of unused film into the bin. That leftover film represents real money, and over hundreds of prints, it adds up to a significant drain on your profit margin. The good news? Most of that waste is preventable. With a smarter approach to DTF Gangsheet planning, you can dramatically reduce film waste, cut costs, and run a leaner, more profitable operation.
Why Film Waste Happens (and Why It Matters)
Film waste creeps in from several directions. The most obvious is unused space on a gangsheet: you lay out a few designs, hit print, and the rest of the sheet goes to waste. But there are subtler culprits too. Overestimating the number of transfers you need for a job leads to excess sheets. Poor nesting leaves awkward gaps between images. And using a film size that doesn't match your design mix can force you to print more sheets than necessary.
Each of these inefficiencies costs you money in film, powder, ink, and time. Film alone can account for 20-30% of your consumable costs, so even a modest reduction in waste translates to a healthier bottom line. More importantly, wasting film often means wasting the opportunity to maximize your printer's throughput. Every square inch of film you save is a square inch you can use for another job.
Smart Gangsheet Planning: The Foundation of Waste Reduction
Waste reduction starts before you even open your design software. It begins with a shift in mindset: treat every gangsheet as a precious resource, not just a canvas. Here's how to plan for minimal waste.
1. Batch Similar Jobs Together
Instead of printing one sheet per order, group orders with similar film and ink requirements. If you have several small jobs that use the same film type, combine them into a single gangsheet. This not only fills the sheet more completely but also reduces setup time and film changes.
2. Use a Standard Sheet Size That Matches Your Typical Workload
Film comes in various widths and lengths. If you frequently print small designs, a narrower roll might be more economical because it leaves less unused margin. Conversely, if you handle large graphics, a wider roll prevents you from having to tile images across multiple sheets. Analyze your last 50 jobs to find the sweet spot.
3. Leverage Nesting Software (or Master Manual Nesting)
Nesting is the art of arranging designs to minimize gaps. Advanced RIP software often includes auto-nesting features, but manual adjustment can yield even better results. Rotate designs, interlock irregular shapes, and fill voids with small add-on items like sleeve logos or pocket prints. The goal is to leave no space larger than a postage stamp unused.
Film Selection: Don't Pay for What You Don't Need
Not all DTF film is created equal, and choosing the right film for each job can be a major lever for waste reduction. Consider these factors:
- Thickness: Thinner films are often cheaper and can be more forgiving during transfer, but they may require more careful handling. Thicker films hold more powder and can be more durable, but they cost more per square inch. Match thickness to the end use: thin for lightweight fabrics, thick for heavy-duty wear.
- Release characteristics: Some films release the transfer more cleanly, reducing the risk of tearing and wasted transfers. Test samples from different suppliers to find one that consistently performs well with your ink and powder.
- Sheet size: Buying film in the exact width you need avoids trimming waste. If you frequently print on 13-inch wide sheets, don't buy a 24-inch roll and cut it down unless you have a use for the offcuts.
Experiment with a few film types and track your waste rate for each. You might find that a slightly more expensive film actually saves you money because it reduces misprints and rework.
Nesting Techniques That Squeeze Every Inch
Nesting is where the biggest savings hide. Here are practical techniques to maximize film usage:
- Group by color: If you're printing designs with similar color profiles, group them to avoid ink changes and to ensure consistent quality.
- Rotate and flip: Don't be afraid to rotate designs 90 or 180 degrees to fill awkward gaps. Just ensure that any text or directional elements remain readable after rotation.
- Use filler items: Keep a library of small, high-demand designs (like logos, tags, or simple graphics) that can be inserted into leftover spaces. These can be sold as ready-to-press transfers or used for samples.
- Mind the gap: Leave enough space between designs for clean cutting, but don't overdo it. A 2-3mm gap is usually sufficient for most cutters.
- Plan for the cut: If you're using a cutting machine, nest designs so that cuts are straight and minimal. Avoid intricate cut lines that waste film and time.
Track Your Waste to Find Hidden Losses
You can't manage what you don't measure. Start recording the amount of film you use per job and the amount of waste (unused film, misprints, cutoffs). A simple spreadsheet can reveal patterns: maybe you're consistently overestimating the number of transfers needed, or perhaps a particular film brand causes more jams. Once you identify the source, you can take targeted action.
Consider setting a waste reduction goal, like cutting film waste by 15% over the next quarter. Share this goal with your team and brainstorm solutions together. Small changes, such as adjusting default nesting settings or switching to a different film width, can add up quickly.
Real-World Example: From Wasteful to Lean
Take a small print shop that was producing 100 gangsheets per month. On average, each sheet had 20% unused space, and misprints accounted for another 5% waste. By implementing a nesting software, batching similar orders, and switching to a film width that better matched their typical design sizes, they reduced unused space to 8% and misprints to 2%. The savings on film alone paid for the software in three months. Plus, the reduced waste meant they could take on more jobs without increasing film costs.
Frequently Asked Questions
How can I reduce film waste if I only print small batches?
For small batches, consider printing on narrower film rolls or using a sheet size that closely matches your design dimensions. Also, combine multiple small orders into a single gangsheet to fill the space. Keep a stash of small filler designs to plug gaps.
What's the best way to nest irregular shapes?
Use nesting software with shape recognition, or manually rotate and interlock designs. Start with the largest pieces and fill gaps with smaller ones. Don't be afraid to experiment with different arrangements before committing to print.
Does film thickness affect waste?
Yes, thicker films can be more prone to curling and may require more careful handling, potentially leading to more misprints. Thinner films might save money but could tear easily. Test different thicknesses to find the best balance for your workflow.
How often should I review my film waste?
Review your waste metrics monthly to spot trends. If you notice a sudden increase, investigate immediately. Regular reviews help you stay on top of waste and adjust practices as your business evolves.
Can I reuse film scraps?
Small scraps can sometimes be used for tiny designs like tags or logos, but they are often too small for practical use. It's better to prevent waste at the planning stage than to rely on reusing scraps.