DTF transfers for beginners open a practical doorway to custom apparel, letting you skip the steep learning curve of traditional screen printing while still achieving durable, vibrant graphics on a wide range of fabrics and garments, and this flexible approach is especially forgiving for creators who juggle time, budget, and space because it lets you test ideas rapidly without committing to costly screens or long setup times.
Viewed from a different angle, this is a film-based garment graphics method where a printed sheet coated with adhesive is pressed onto fabric. This alternative framing, often called a film-to-fabric transfer or direct-to-film process, shares core steps with other digital textile methods and suits learners seeking a low-barrier entry. A heat press, color-ready film, and proper curing help deliver durable imagery on textiles ranging from tees to hoodies. Using LSIs terms like heat-applied graphics, adhesive-coated film, and color-rich transfers keeps the topic accessible while aligning with search terms people actually type. By emphasizing careful design preparation, practice on scrap fabrics, and systematic documentation of settings, beginners can gain confidence before tackling larger production runs.
DTF transfers for beginners: A practical gateway to DIY fashion
DTF transfers for beginners offer a practical gateway to custom apparel without the steep learning curve of traditional screen printing. Direct-to-film transfers describe the process of printing a design onto a specialized film, applying adhesive powder, curing the powder, and then transferring the image to fabric with a heat press. This workflow is particularly beginner-friendly due to lower setup costs, fewer moving parts, and the ability to iterate quickly, making it a strong entry point for DIY T-shirt projects and other small-batch runs. For those exploring DTF printing for beginners, the method remains forgiving, allowing you to test ideas and refine color and placement before committing to larger orders.
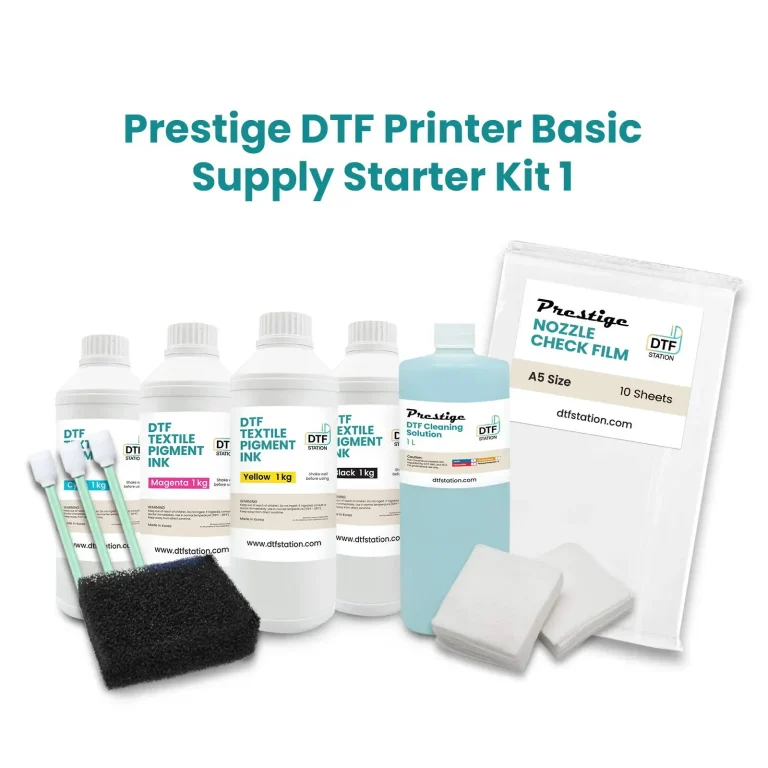
Getting started means assembling a simple, reliable setup: a compact DTF printer or access to a DTF printing service, DTF transfer film, appropriate white and color inks, adhesive powder, and a heat press. Useful accessories like curing equipment and protective sheets help protect your prints and improve consistency. By focusing on essential gear and a clear workflow, you’ll learn DTF printing tips that reduce troubleshooting time, cut waste, and boost confidence as you begin DIY T-shirt printing with DTF.
DTF transfer starter guide: from design to wearable art
DTF transfer starter guide emphasizes a design-first approach, starting with high-resolution artwork (300 dpi or higher) and solid color separations to ensure vibrant results after transfer. Prepare files for print by using opaque white areas on dark fabrics, saving in print-ready formats (PNG or TIFF) with flat colors and no transparency issues. This guidance aligns with broader goals found in DTF printing for beginners and helps you transition smoothly from digital concept to a tactile, wearable product.
The next steps cover the practical transfer process: mirror the design, print onto DTF film with a white base if needed, apply adhesive powder, cure it, and then transfer to fabric with the appropriate temperature, time, and pressure. Post-press care and common troubleshooting—like avoiding color bleed, ensuring even powder coverage, and preventing edge peeling—are essential parts of the DIY T-shirt printing with DTF journey, reinforcing the importance of a reliable direct-to-film transfers workflow.
Frequently Asked Questions
DTF transfers for beginners: what gear do I need to start and what’s the basic workflow (DTF transfer starter guide)?
DTF transfers for beginners start with printing a design onto specialized film, applying adhesive powder, curing, and then transferring the image to fabric with a heat press. For a beginner-friendly setup, plan on a compact DTF printer or access to a DTF printing service, DTF transfer film, white and color inks (with a white underbase if needed), adhesive powder, a curing method, a heat press (roughly 12 x 15 inches or larger), and protective sheets. The basic workflow is: design in high resolution, mirror the image for transfer, print onto film (with the white base if required), apply and cure the powder, press the film to fabric at the recommended temperature/time/pressure, then peel as advised and perform post-press care.
What are common issues in direct-to-film transfers and what are essential DTF printing tips to troubleshoot and improve results?
Common problems with direct-to-film transfers include dull colors or pale whites, powder not transferring, peeling edges, and fabric puckering. Essential DTF printing tips to troubleshoot: ensure a strong white underbase and proper powder curing, apply powder evenly, verify heat press temperature and time, pre-press garments to remove moisture, and test on scrap fabric before final projects. Keep consistent material settings and document results so you can reproduce reliable transfers across fabrics, improving results for DIY T-shirt printing with DTF.
| Aspect | Key Points |
|---|---|
| What are DTF transfers? | DTF stands for direct-to-film. The process prints a design onto a special film, applies adhesive powder, cures the powder, and transfers the design to fabric with a heat press. For beginners, DTF transfers offer lower setup costs, vibrant colors on a wide range of fabrics, a forgiving workflow, and the ability to produce multiple transfers without creating screens. |
| Equipment and materials you’ll need |
|
| Choosing the right materials |
|
| Designing for DTF transfers: preparation tips |
|
| Step-by-step: from design to wearable art |
|
| Common beginner challenges and how to handle them |
|
| Beginner-friendly project ideas |
|
| Maintenance, costs, and the learning curve |
|
| Quality control and continuous improvement |
|
| Conclusion: your next steps |
|
Summary
DTF transfers for beginners open a practical pathway to wearable art by simplifying production and reducing startup friction. By understanding the process, selecting essential gear, and practicing with simple designs, newcomers can achieve vibrant results on a variety of fabrics. This approach emphasizes experimentation, careful documentation, and steady improvement, helping you build confidence and expand into more complex projects. With time and patience, you can master direct-to-film transfers and enjoy a flexible, scalable route to DIY apparel.