DTF transfers are transforming how designers approach apparel and accessories, delivering vibrant colors and durable prints that stand up to washing. Understanding the DTF transfer process helps beginners move from concept to finished garment with clarity and confidence. This descriptive guide breaks the workflow into practical stages, from artwork prep to the final press, so you can build a repeatable routine. You’ll learn about essential materials, film printing, powder curing, and the critical heat press settings that influence color fidelity and adhesion. With this approach, apply the recommended steps and tips to develop a smooth, scalable process that yields reliable results.
Beyond the brand name, this workflow is a film-to-fabric printing method that moves digital artwork onto textiles with a specially treated transfer film and adhesive. Rather than traditional screen printing, the process uses a transfer film, powder, heat, and pressure to bond color to cotton, blends, or synthetics. Viewed through an LSI lens, terms like digital-to-film printing, film-based textile decoration, and transfer-film workflow all point to the same end—vibrant, durable designs. Understanding these alternative terms helps readers discover related guides and tips that support beginner and advanced users alike.
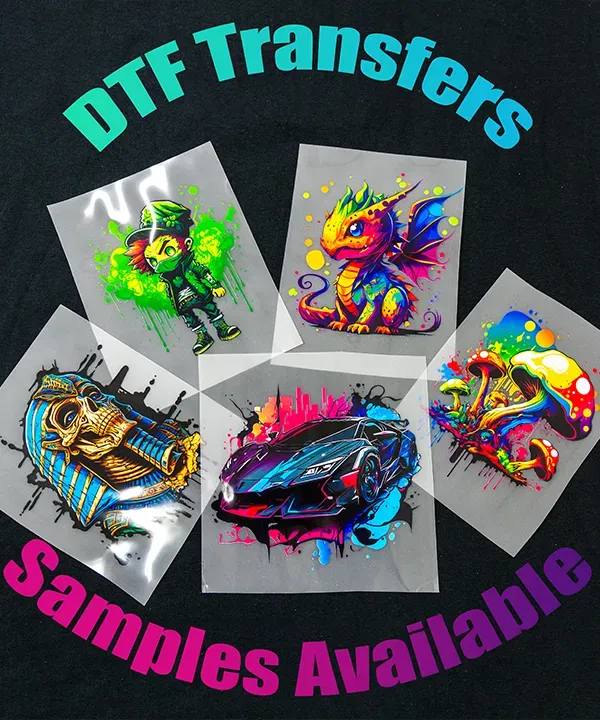
DTF Transfers for Beginners: Understanding the DTF transfer process and how DTF transfers work
DTF transfers are a flexible, durable option for decorating garments, and understanding the DTF transfer process helps you plan a repeatable workflow. The core steps—printing on a specialized PET film, applying an adhesive powder, curing the powder, and using heat and pressure to bond the design to fabric—illustrate how DTF transfers work as a hybrid between digital printing and professional heat transfer. For beginners, this often starts with a standard printer and compatible DTF film, following a straightforward sequence that pairs design decisions with a practical pressing strategy.
DTF printing for beginners is approachable because you can start with common equipment and gradually refine your setup. Knowing the DTF transfer steps in broad terms—design, print, powder, cure, and press—helps you map out a workflow that yields reliable results across different fabrics. The appeal for newcomers lies in color fidelity, the ability to print on a range of textiles, and the potential to grow your operation without heavy upfront investments. As you gain experience, you’ll adjust color profiles, powder curing, and press parameters to tailor outcomes to specific materials.
DTF Transfer Steps and Heat Press Tips for Beginners: From Printing to Pressing
From artwork to finished garment, the DTF transfer steps provide a clear path for beginners: prepare the design (mirroring for dark fabrics if needed), print with the white layer first for brightness, apply and cure the adhesive powder, and then perform a final heat press to bond the print. Keeping a consistent sequence helps you develop a repeatable routine, while standardizing temperatures, dwell times, and pressure ensures more predictable results across multiple runs. This practical approach aligns with the idea of DTF printing for beginners—start simple, then optimize as you learn.
DTF transfer heat press tips are essential for consistency. Before you press, pre-press the garment to remove moisture, use heat-resistant tape to secure the film, and maintain even pressure during the dwell time. Testing on scrap fabric with similar weight and composition lets you dial in heat, time, and pressure before committing to production runs. By following these heat-press best practices and leveraging the DTF transfer steps, you can reduce common issues like misalignment, edge white borders, or cracking, and achieve durable, vibrant prints.
Frequently Asked Questions
What is the DTF transfer process and how do DTF transfers work for beginners?
DTF transfer process overview: DTF transfers work by printing a design onto a PET transfer film, applying an adhesive powder, curing the powder, and then using heat and pressure to bond the design to fabric. For beginners, focus on a repeatable workflow: prepare artwork (mirror for dark fabrics), print the white ink layer first on the film, apply and cure the adhesive powder, pre-press the garment, and then use a calibrated heat press to transfer and finish with a proper peel. By mastering these steps, you can achieve durable, vibrant results across many fabrics and colors.
What are essential tips for DTF printing for beginners, including heat press tips for DTF transfers?
DTF printing for beginners benefits from practical heat press tips and careful setup. Use compatible DTF film and white ink to ensure bright colors on dark fabrics; print the white layer first, then color layers, and verify color density without oversaturation. Ensure powder curing is complete, pre-press the garment, and set the heat press to the recommended temperature and dwell time for the fabric (around 160-170°C for 12-20 seconds with medium pressure), adjusting as needed. Always test on scrap fabric, use protective sheets, and follow your supplier’s guidelines for best results.
| Aspect | Key Point | Notes / Details |
|---|---|---|
| What are DTF transfers | Direct-to-film transfers involve printing a design onto a PET film, applying adhesive powder, curing the powder, and then using heat and pressure to transfer the design onto textiles. | Combines digital printing flexibility with the durability of a heat transfer; beginners can start with a standard printer or a service, enabling a repeatable workflow across fabrics. |
| Why beginners should consider DTF transfers | Versatility on many fabrics; color fidelity with white ink on dark fabrics; cost-efficiency; durability when properly cured. | Allows a repeatable workflow and gradual improvement for hobbyists and small shops. |
| What you need to start with DTF transfers | Printer and DTF film; white ink and color inks; adhesive powder; curing method; heat press; surface prep materials; transfer planner. | Some items may already exist; specialized pieces smooth the workflow and improve results. |
| Step-by-step workflow (high level) | Design (mirror if needed) → print on DTF film (white layer first) → apply and cure adhesive powder → pre-press garment → press transfer → peel film → post-press cooling. | Follow manufacturer guidelines for temperatures, times, and fabrics. |
| Tips for reliable results | Maintain a clean workspace, use consistent heat press pressure, test on scrap fabrics, ensure powder fully cured, calibrate equipment. | This helps prevent dust contamination, bleeding, misalignment, and uneven bonding. |
| Common issues | Fading colors or pale prints; cracking or peeling; white edges around artwork; curling or warping; smudging or bleeding. | Address by adjusting ink density, curing times, powder coverage, proper pre-press, and using high-quality inks and powders. |
| Care and maintenance | Wash inside-out in cold or warm water with mild detergent; avoid heavy agitation; air-dry; low-heat ironing with a protective sheet; store flat or rolled. | Maintains color vibrancy and print durability over time. |
| Why this approach works | Process is repeatable and scalable; provides a flexible design space; emphasizes prep, testing, and calibration. | Leads to consistent results and builds confidence for ongoing projects. |
Summary
DTF transfers offer a straightforward, versatile path for beginners to create durable, vibrant prints on a wide range of fabrics. By understanding the DTF transfer process, gathering the right materials, and following a methodical workflow, you can achieve professional-looking results with confidence. As you gain experience, DTF transfers become a reliable tool in your garment-printing toolkit.