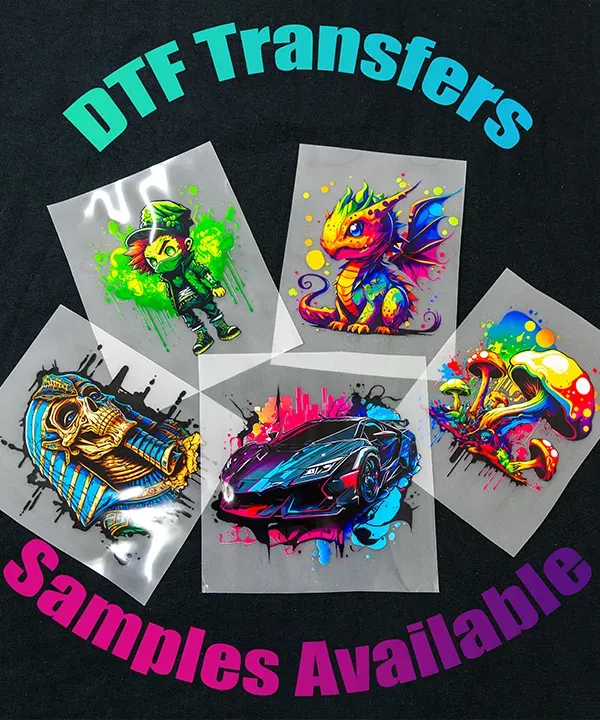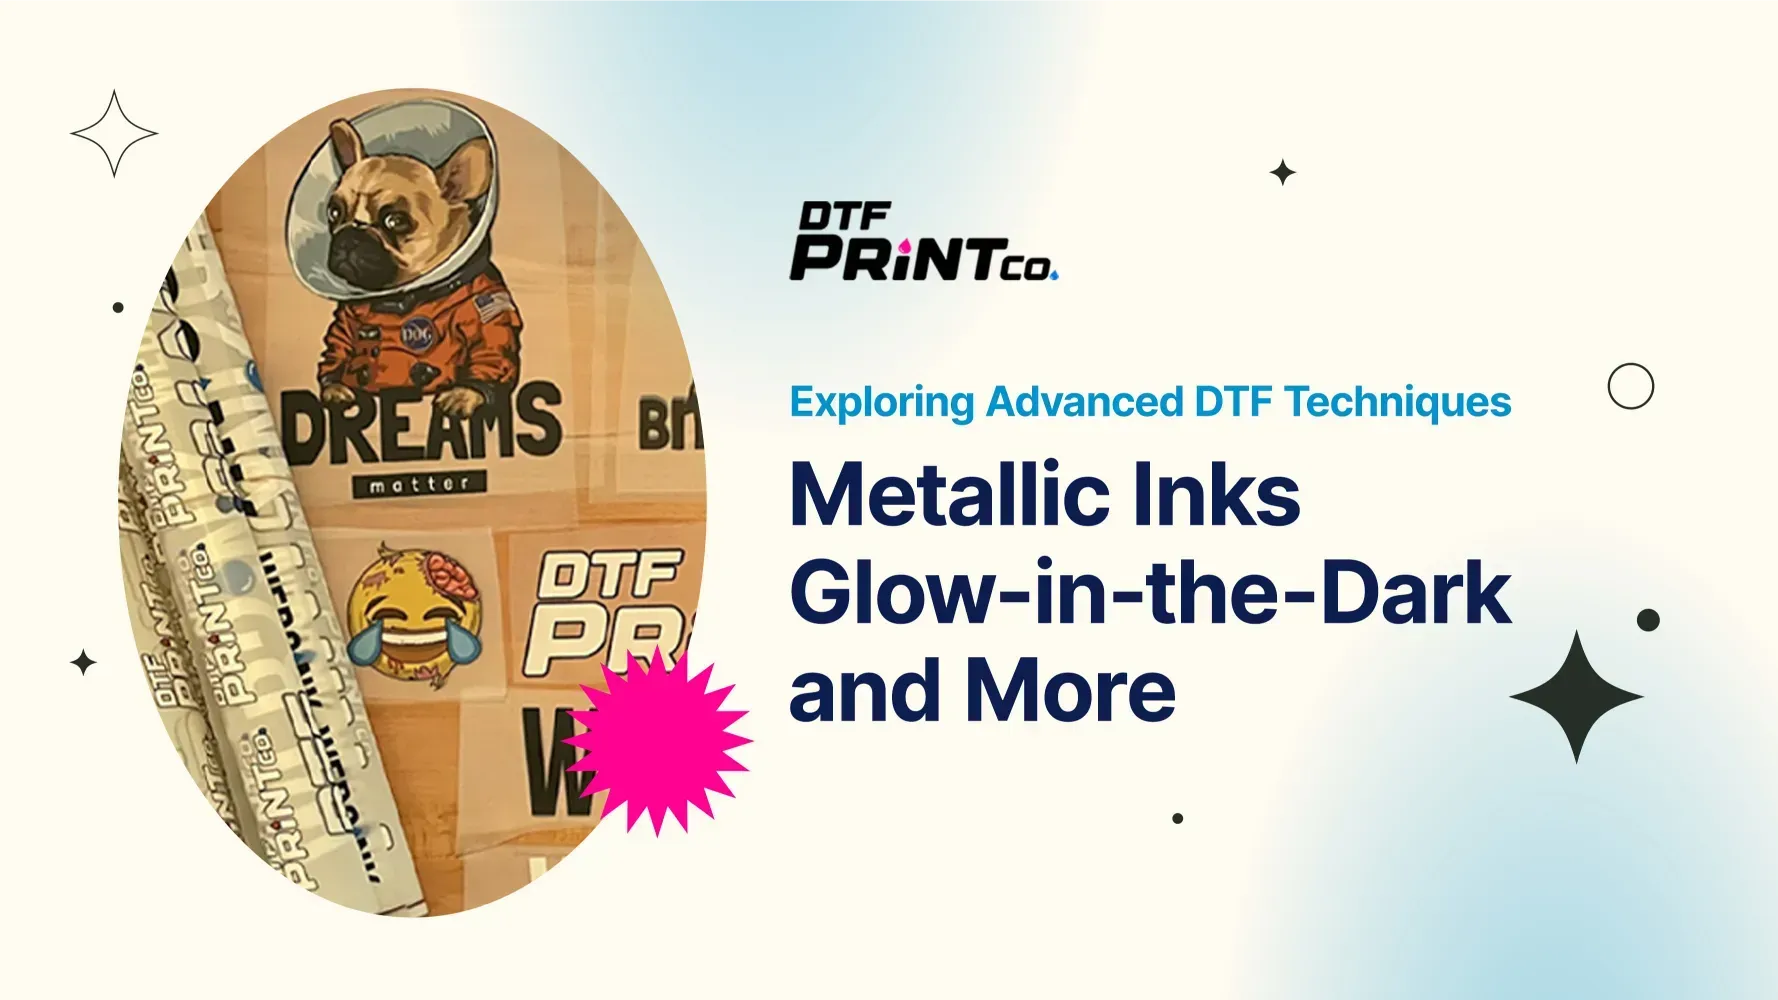
DTF transfer techniques, or direct-to-film printing methods, have revolutionized the world of custom garment printing. Mastering these techniques is essential for anyone looking to produce high-quality, vibrant prints that stand the test of time. By implementing effective DTF printing tips, such as optimizing printer settings and experimenting with layering techniques, you can enhance your print results significantly. With a focus on durability and vivid color, understanding how to DTF transfer properly sets the foundation for success in this bustling industry. Whether you’re a newcomer or an experienced printer, these techniques will elevate your projects and impress customers with stunning finishes.
When it comes to garment customization, the art of direct-to-film (DTF) printing offers innovative solutions and creative possibilities. This technique involves using specialized films and inks to create detailed, colorful designs. To achieve the best results, understanding key aspects such as optimizing printer configurations and perfecting curing processes is vital. By exploring alternative techniques and methods in textile printing, enthusiasts can gain insight into how effective processes like layering can breathe new life into their projects. Embracing the nuances of DTF printing will help you produce professional-quality apparel with striking visual appeal.
Quality Materials for DTF Printing Success
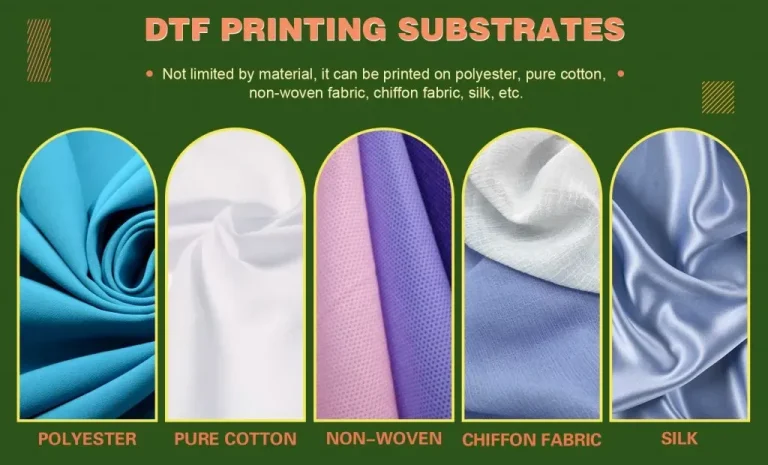
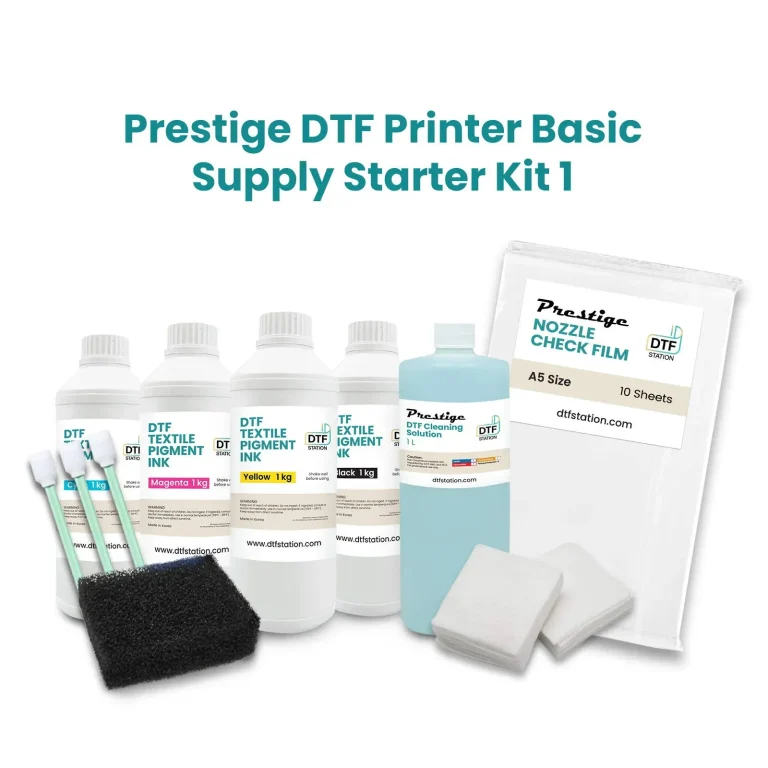
The cornerstone of successful DTF (Direct-to-Film) printing is investing in quality materials. This includes selecting premium DTF films and inks that not only produce vibrant colors but also ensure durability. High-quality films are specifically engineered to adhere well to various fabrics, preventing issues like peeling or cracking over time. Additionally, these quality materials enhance the overall appearance, giving your prints a professional touch that stands out.
Beyond just vibrant colors, high-quality materials contribute significantly to the longevity of your DTF prints. The adhesion quality is crucial—using subpar products often results in disappointing and unprofessional outcomes. Therefore, seeking recommendations from industry experts and only purchasing from reputable brands can create a solid foundation for your DTF printing endeavors.
Optimizing Printer Settings for DTF Printing
To achieve the best outcomes in DTF printing, optimizing your printer settings is paramount. Each printer has specific modes that cater to various printing styles, and for DTF transfers, settings like ‘textile’ or ‘photo’ mode are ideal. Ensuring the right ink density and resolution can significantly impact the clarity and vibrancy of your prints, preventing issues such as smudging or bleeding.
Conducting test prints is a vital step in the optimization process. By experimenting with different settings, you can find the perfect balance for your printer, which will enhance the overall quality of your DTF transfers. Many experienced printers suggest fine-tuning the adjustments based on the specific inks used, ensuring you get the most out of your equipment.
Temperature Control During DTF Transfer
Maintaining the correct temperature is crucial for successful DTF transfers, as it directly influences adhesion and overall print quality. The recommended heat setting for DTF transfers typically ranges between 315°F and 350°F. It’s essential to monitor this temperature closely, as improper heat can lead to either insufficient adhesion or damage to the fabric.
Moreover, it is important to apply even pressure along with heat during the transfer process. This specialized technique ensures that the film adheres uniformly to the substrate, thus preventing issues such as bubbles or misalignment. Investing in a reliable heat press can help maintain consistent temperatures and pressure, leading to stunning DTF prints.
Importance of Curing in DTF Printing
The curing process in DTF printing is often overlooked but is essential for ensuring the longevity and quality of your prints. Proper curing enhances the adhesion of inks to the substrate; inadequate curing can result in peeling and fading after washing. Industry standards recommend allowing a curing period of up to 24 hours for best results, as taking the time to let your prints set can be the difference between a vibrant design and one that quickly deteriorates.
Additionally, understanding the specific curing requirements for the materials being used is crucial. Different inks and films may have varying curing times, so adhering to manufacturer specifications will yield optimal results. Patience during this stage ensures your final product withstands multiple washes while maintaining its quality.
Mastering Layering Techniques in DTF Transfers
Layering techniques can elevate your DTF prints to new artistic heights, allowing for unique designs that catch the eye. By playing with color combinations and layering strategies, you can create depth that enhances the overall visual impact of your printed textile. It’s vital to experiment with different colors, particularly balancing lighter and darker shades to ensure vibrant outcomes.
A critical best practice in layering is to let each layer cure properly before adding the next. This ensures that the layers bond effectively without bleeding into each other, which can diminish the brightness and cohesiveness of your design. Testing your layering methods on sample materials can also provide valuable insights into how your chosen inks and films interact, allowing for adjustments before tackling your final projects.
Exploring DTF Printing Tips for Beginners
For those just starting their journey in DTF printing, following specific tips can lead to successful prints from the onset. Engaging with community resources and instructional guides can greatly improve your understanding of best practices. Learning the nuances of DTF printing, such as the subtleties of different films and the importance of ink types, will set you on the path to mastering this technique.
Another essential tip for beginners is to invest time in practice. Trial and error are fundamental to learning the ins and outs of DTF transfer techniques. By dedicating yourself to practicing various aspects, such as material selection, printer settings, and temperature control, you can gain confidence and eventually achieve the stunning results that make DTF printing popular among artists and businesses alike.
Frequently Asked Questions
What is DTF printing and how does it work?
DTF printing, or Direct-to-Film printing, is a technique that transfers designs onto garments using a special film. This process involves printing a design onto a film transfer, applying adhesive powder, and then transferring it onto the fabric with heat and pressure. The DTF transfer technique allows for vibrant and durable prints that can withstand multiple washes.
What are some essential DTF printing tips for beginners?
For beginners in DTF printing, focus on these key tips: 1) Invest in high-quality DTF film and inks for better results. 2) Optimize printer settings such as ink density and resolution for the best output. 3) Maintain consistent temperature during transfers. 4) Allow sufficient curing time for the print to set. 5) Experiment with layering techniques for enhanced creativity.
How do I optimize printer settings for DTF transfer techniques?
To optimize printer settings for DTF transfer techniques, adjust the ink density to avoid over-saturation and select a high resolution (1200 DPI or above) for crisp prints. It’s crucial to test various printer modes, such as ‘textile’ or ‘photo’ settings, to achieve the best results tailored to your specific DTF printing needs.
What temperature should I maintain during the DTF transfer process?
During the DTF transfer process, maintain a temperature between 315°F and 350°F (157°C to 177°C). Proper heat application is essential for ensuring that the transfer material adheres correctly, enhancing the durability and overall quality of your DTF prints.
Why is the curing process important in DTF transfer techniques?
The curing process is vital in DTF transfer techniques because it significantly enhances adhesion quality and print longevity. Allowing for a curing time of up to 24 hours after the transfer ensures that the design fully sets, preventing issues like peeling, cracking, or fading through repeated washings.
What layering techniques can improve my DTF printing results?
To improve DTF printing results with layering techniques, experiment with various color combinations to add depth to your designs. Make sure to test layer placements and always allow each layer to cure before adding the next. This helps maintain color vibrancy and prevents bleeding between layers.
| Tip Number | Key Point | Details |
|---|---|---|
| 1 | Invest in Quality Materials | Choose premium DTF films and inks for vibrant colors and durability. Brands like DTF Direct, Colman and Company, and Createx Colors are recommended. |
| 2 | Optimize Your Printer Settings | Utilize printer modes for textile/photo printing. Adjust ink density, resolution (1200 DPI+), and perform test prints. |
| 3 | Maintain the Right Temperature | Heat settings between 315°F and 350°F (157°C to 177°C) are optimal. Maintain consistent heat application. |
| 4 | Curing Process and Timing | Allow prints to cure for up to 24 hours post-transfer to enhance adhesion and longevity. |
| 5 | Experiment with Layering Techniques | Develop depth through layering designs. Test color combinations and ensure each layer cures before adding. |
Summary
DTF transfer techniques are essential for producing stunning, vibrant prints that last. By focusing on quality materials, optimizing printer settings, controlling temperature, ensuring proper curing, and exploring layering options, you can enhance the overall quality of your prints. These methods not only improve the look of your designs but also their durability, making them suitable for both hobbyists and professionals in the garment printing industry. Adopt these strategies to see marked improvements in your DTF prints, allowing your creativity to shine through.