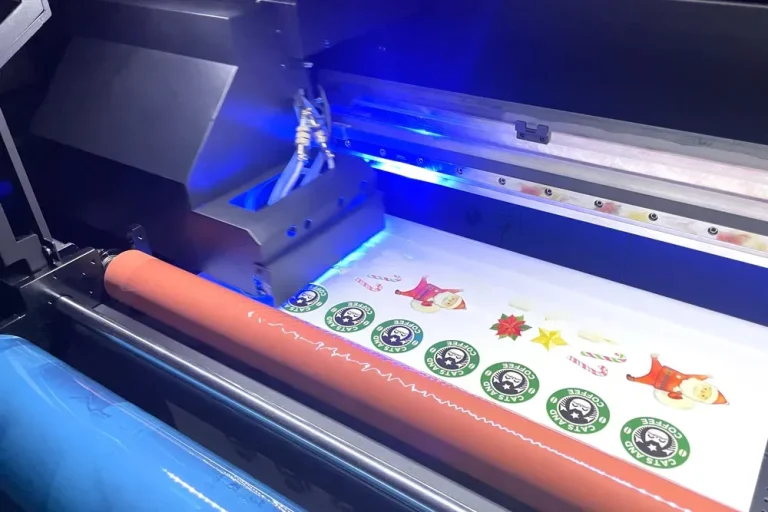
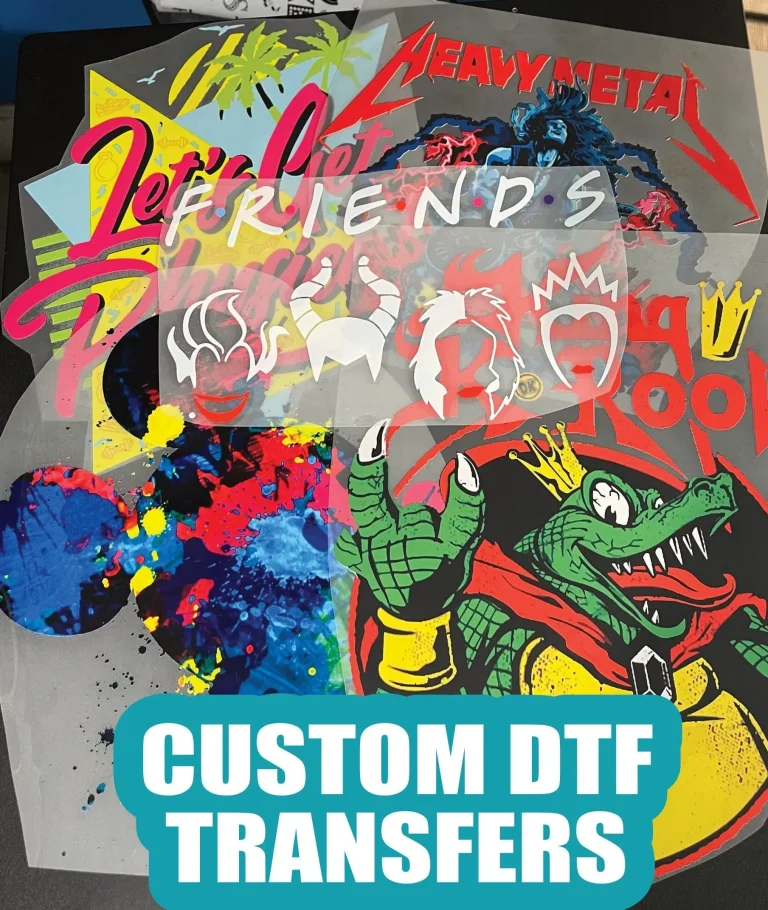
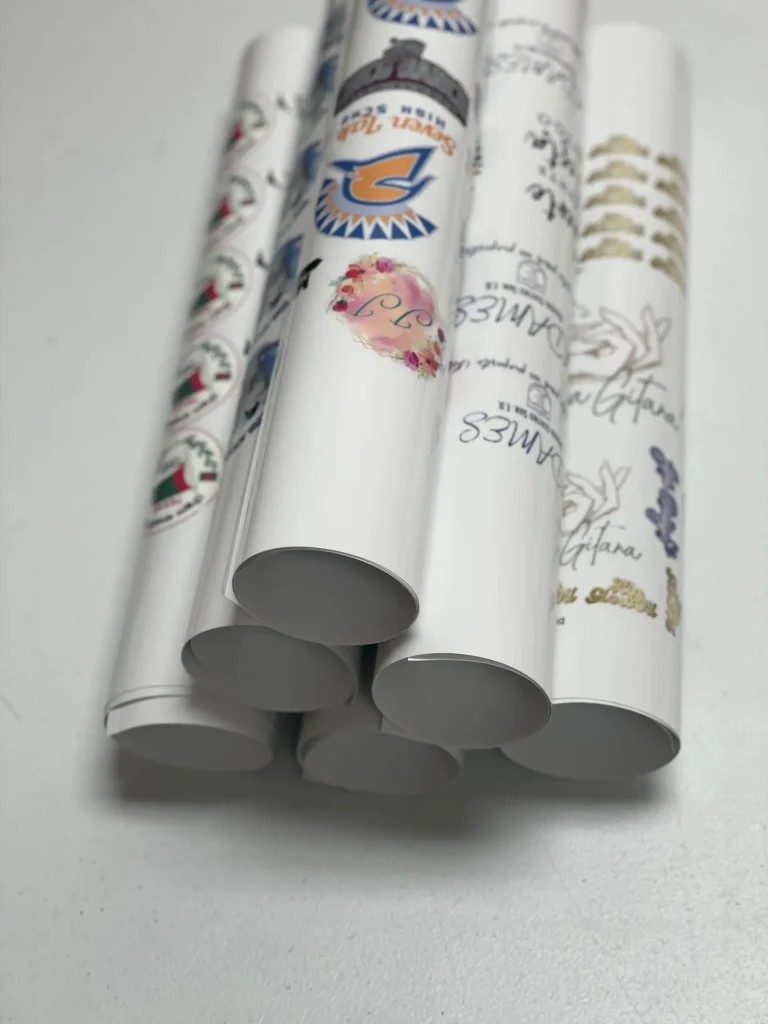
DTF transfers have reshaped how brands customize apparel, delivering vibrant color and durable adhesion through a proven process. In practice, DTF printing, often called direct-to-film printing, offers flexibility across a wide range of fabrics. To ensure consistent results, you’ll rely on DTF transfer tips, precise heat press settings, and careful pre- and post-press handling. This guide focuses on practical, field-tested steps to minimize variability across batches. By standardizing your workflow, you can protect color fidelity and adhesion from one run to the next.
Viewed from a broader perspective, the film-to-textile transfer approach can be described with terms like direct-to-film technology or film-based imprinting, which emphasize the same goal of durable decoration. This framing highlights essential factors such as color management, film quality, substrate compatibility, and reliable adhesion, aligning with the core ideas of DTF printing. In practical terms, practitioners talk about DTF transfers in the context of workflow optimization, heat press settings, curing, and troubleshooting DTF transfers.
DTF transfers: Mastering heat press settings and print preparation for consistent results
DTF transfers begin with solid design and print preparation. In direct-to-film printing workflows, ensure artwork is at 300–600 dpi, use CMYK color management, and test with ICC profiles that match your printer, film stock, and powder. Regular color calibration between monitor, printer, and substrate creates predictable results across batches and helps maintain color fidelity on various fabrics like 100% cotton or blended materials.
Among the key DTF transfer tips is dialing in heat press settings and post-print handling. Start with a baseline of 300–320°F (150–160°C) for 10–20 seconds at medium pressure, then adjust based on color density and adhesive behavior. Use a non-stick sheet, ensure even pressure with a calibrated press, and pre-press garments to remove moisture. Document every change so you can reproduce it for future runs and minimize drift.
DTF transfers troubleshooting guide: common issues and long-term consistency
Even with careful setup, issues can arise such as color fading, ghosting, or poor adhesion. Troubleshooting DTF transfers involves a structured check of film quality, powder curing, and transfer parameters. Verify that the film stock and powder are consistent, confirm the printer calibration and ink density, and ensure the garment is pre-pressed and free of wrinkles before transfer.
For long-term consistency, you need SOPs, batch data, and ongoing QA. Create standard operating procedures that capture heat press settings, powder coverage, curing times, and fabric specifics, then run regular quality audits, comparing prints to color targets, and maintain a troubleshooting log. This reduces variability and makes it easier to scale DTF printing across evolving fabrics and equipment.
Frequently Asked Questions
What are the top DTF transfer tips for achieving consistent results with direct-to-film printing across fabrics?
For consistent DTF transfers, start with solid design and print preparation for DTF printing: use high‑resolution, color-managed artwork and plan for garment color and fabric type. Ensure uniform powdering and proper curing to create a smooth transfer surface, then pre-press the garment to remove moisture and wrinkles. Optimize heat press settings by starting around 300–320°F (150–160°C) for 10–20 seconds with medium pressure, and use a protective layer to reduce sheen and ensure even contact. Follow a clear peel strategy and allow cure time, then document batch settings to support repeatability and troubleshooting DTF transfers if results drift.
How can I troubleshoot DTF transfers and choose heat press settings that improve durability across fabrics?
Common DTF transfer issues—dull colors, cracking, or poor adhesion—usually stem from calibration, powder curing, or pre-press and transfer parameters. Verify printer color management and film quality, ensure even powder distribution, and confirm proper curing and pre-press. For heat press settings, start with 300–320°F (150–160°C) for 10–20 seconds at medium pressure and adjust based on fabric type and results. Use a non-stick sheet, ensure even platen pressure, and test on swatches to dial in time, temperature, and peel method (hot vs cold). Maintain a log of settings and outcomes to guide ongoing troubleshooting of DTF transfers.
| Aspect | Key Points | Best Practices / Tips |
|---|---|---|
| Understanding the DTF Process | Core steps: design/print prep, powdering & curing, transfer prep, heat transfer, peel & finish. Common pitfalls: color shifts, ghosting, cracking, poor adhesion, uneven texture due to material quality, improper temperature or time, or pre-/post-press issues. | Document the workflow and parameters for each job. Calibrate color management across monitor, printer, and film using ICC profiles. Ensure uniform powdering and proper curing. Pre-press garments to remove moisture and wrinkles. Use consistent heat press settings. Follow appropriate peel strategy and allow cure before washing. Implement simple registration methods. |
| Design & Print Preparation | High-resolution artwork (300–600 dpi); CMYK color mode; color management with ICC profiles; plan for garment color and fabric type; maintain a standard substrate/substrate list. | Create tests to validate color accuracy; calibrate with ICC profiles; maintain a swatch log; document fabric blends and expected appearance; build a ready library of substrates. |
| Powdering & Curing | Apply powder evenly; cure per powder guidelines; keep a clean curing environment to avoid pimples or texture differences. | Use light, even powder coats; follow curing guidelines; work in a clean, dust-free area; clean film surface before transfer. |
| Pre-Press the Garment | Remove moisture and wrinkles (2–5 seconds pre-press); use a header board or teflon sheet to distribute heat; tailor times for garment needs. | Pre-press 2–5 seconds; use header/teflon; adjust for fabrics to avoid scorching or shine; ensure even heat distribution. |
| Heat Transfer Settings | Temperature/time around 300–320°F (150–160°C) for 10–20 seconds, with medium pressure. Adjust if colors dull (increase time/pressure) or scorching occurs (decrease temp/time). Ensure even pressure and use protective layers; align precisely. | Use a calibrated heat press; maintain even pressure; use a shim/pillow for curved surfaces; place non-stick or Teflon between transfer and garment; use registration marks. |
| Peel Strategy & Post-Press Care | Hot-peel is common; follow supplier guidance. Allow cooldown and cure for 24–48 hours before washing. | Test hot vs cold peel; follow guidance; allow cooling; provide care instructions to end users to maximize durability. |
| Batch Documentation & SOPs | Develop SOPs with exact steps, temps, times, and materials. Track batch data (fabric type, printer model, film, powder, press parameters, humidity). | Write and enforce SOPs; create job templates; document batch metrics; review data for drift and update processes. |
| Materials & Equipment | Film and powder quality, printer calibration, and heat press maintenance impact results. | Invest in reputable film and powder; regular printer calibration; routine heat press maintenance; perform test prints to validate color and adhesion. |
| Troubleshooting Quick Reference | Common issues include faded colors, cracking, improper adhesion, ghosting, white spots; causes include miscalibration, improper temps/times, or poor material quality. | Regularly calibrate equipment, run color/adhesion tests, maintain film/powder quality, and log issues for continuous improvement. |
Summary
Conclusion: DTF transfers offer a powerful approach to high-quality, durable prints across many fabrics. The path to consistency with DTF transfers lies in a disciplined workflow: precise design and print preparation, uniform powdering and curing, careful pre-press and transfer parameters, and meticulous post-press care. By standardizing your workflow, documenting settings, performing regular batch audits, and maintaining open feedback loops for operators, you can reduce variability and achieve repeatable results with every run. Tailor these DTF transfer tips and best practices to your specific equipment, film stock, and fabrics, and use them to build robust SOPs that keep your direct-to-film printing projects on track.


